For support, please contact [email protected].
Install COMSOL on Windows
- Make sure you are connected to the Campus VPN
Make sure to choose "FST-VEN-APP-USERS" role when connecting to VPN, it does not work with other roles. If you don't get the role selection option, please remove your VPN settings and re-add it.

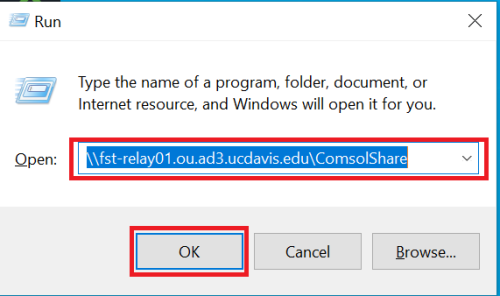
- Press Windows key + R to open Run prompt
Type \\fst-relay01.ou.ad3.ucdavis.edu\ComsolShare and click OK
- If it asks for a username and password, put your full UC Davis email address with Kerberos password
- You can also check “Remember my credentials” to avoid this pop up in future
- Click “OK”
- It will open a new window, double click “Comsol-61-Install.bat” to run the installer.
Click “Run” on the Security Warning pop up

- It will ask for Administrative privileges confirmation, click "Yes"
- It will ask for Administrative privileges confirmation, click "Yes"
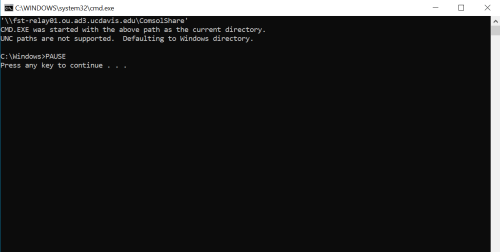
Press any key to start the process
It may show up the Security Warning pop up again, click "Run"

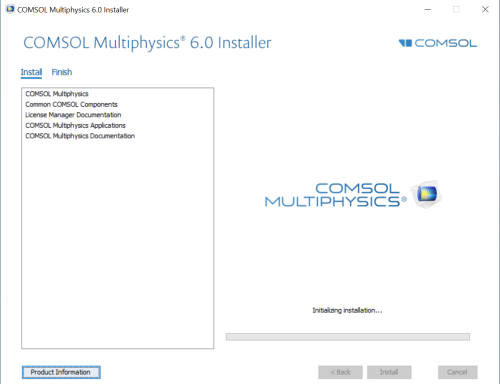
Depending on your internet connection speed (it is a 6GB file), it will take some time to launch, then it will only show you the installation progress. Once complete, it will close automatically.
Install COMSOL on Mac
- Make sure you are connected to the Campus VPN with "FST-VEN-APP-USERS" as the selected role.
- Click on Go, then choose Connect to a server
- Type smb://fst-relay01.ou.ad3.ucdavis.edu/ComsolShare/Comsol61_mac and click Connect
- It will ask for username and password, use your full UCD e-mail address and Kerberos password.
- For M1 processor, double-click on COMSOL61_macarm64.dmg, For Intel Processors, double click COMSOL61_maci64.dmg
- Here is how to determine whether your Mac has chip or processor: https://support.apple.com/en-us/HT211814
- Double click the file "COMSOL61" or "Setup" to start installation process.
- Choose language
- Click on "New COMSOL 6.1 Installation"
- Agree to the license terms
- Under License information, choose "<port number>@<hostname>" as the license format
- On Port number put 1718, on hostname type fst-relay01.ou.ad3.ucdavis.edu
- Put your name, and FST - UC Davis as the company
- On the features window, only choose Comsol. Do not select License manager
- Click next until finished
Run COMSOL
- Make sure you are connected to the Campus VPN with "FST-VEN-APP-USERS" as the selected role.
- On Windows machines, you can find it on your Desktop, or you can find it in the Start Menu
- On MacOS, it is located under Applications
Note: Disconnect from the Campus VPN once you are done working with COMSOL.